
How to use NEW Halo Stained Glass over Jellie Tips
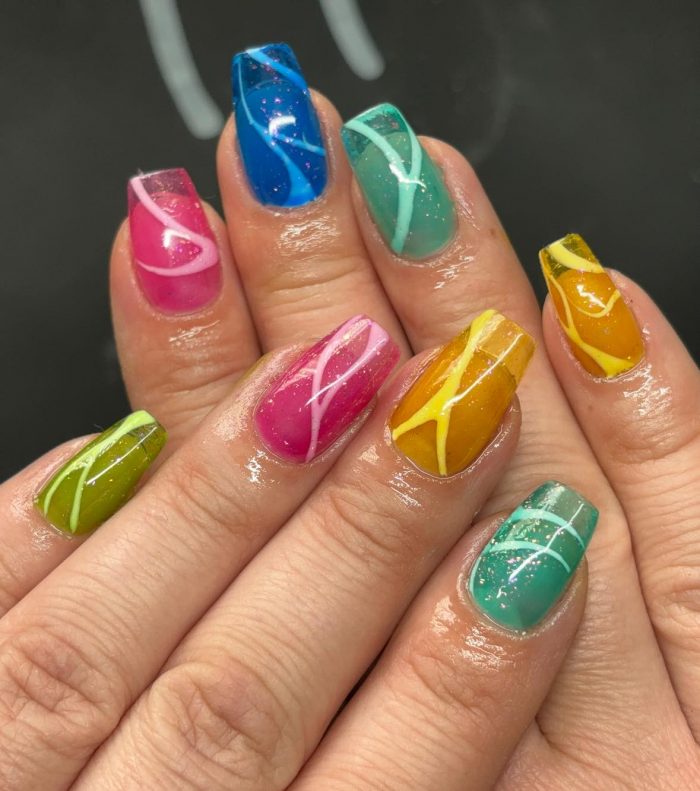
You know when a new launch hits and you don’t know how you coped before? Well, that’s exactly how we feel about the new Halo Stained Glass Gel collection. These 6 new gel polish shades are like nothing Halo has created before! Perfect for summer manicures, these nail gel colours blend vibrant tones with a sheer effect that mirrors the translucent beauty of stained glass. Seriously, hold them up to the sun and watch the light shine through.
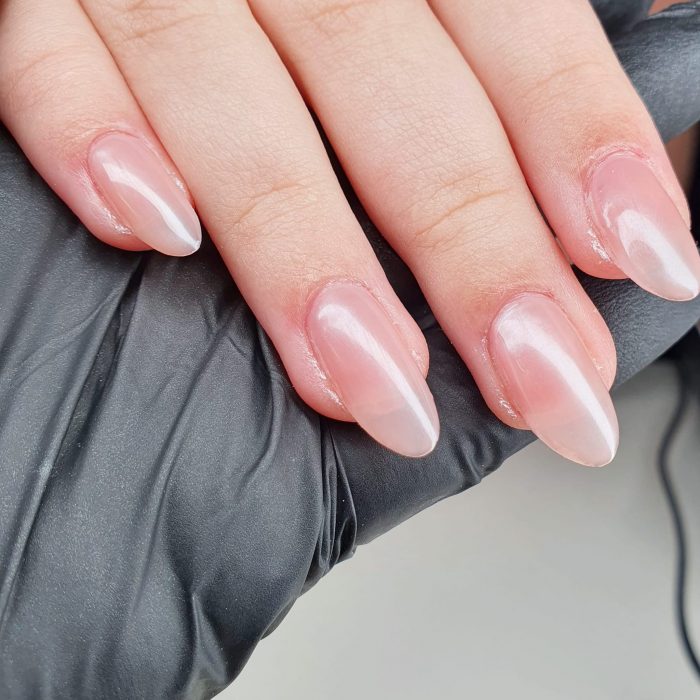
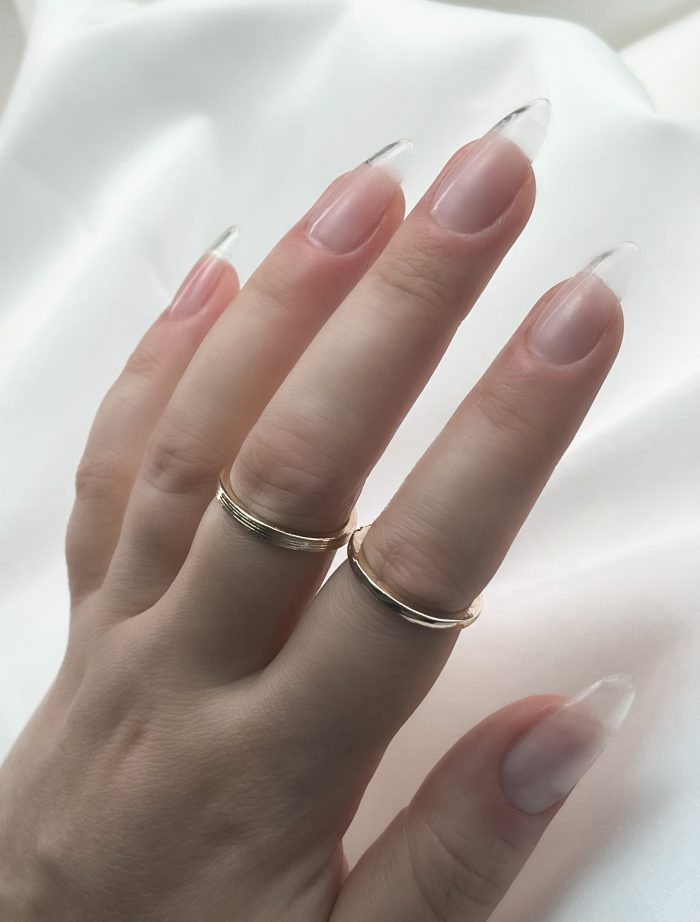
One of the many reasons we adore this Halo gel polish range, is how perfectly it works alongside Halo Jellie Tips. The see-through effect and crystal clear soft gel tips are an absolute match made in heaven. Don’t worry if your clients like a different base, though; Halo Stained Glass is mesmerising over natural nails, EasiBuild and PoliBuild too!
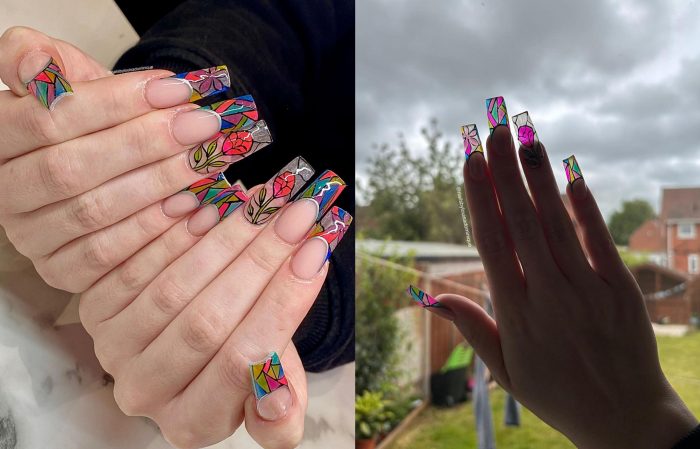
Stained Glass Halo Gel Colours
Ready for a low down on the shades? Just try and stop us!
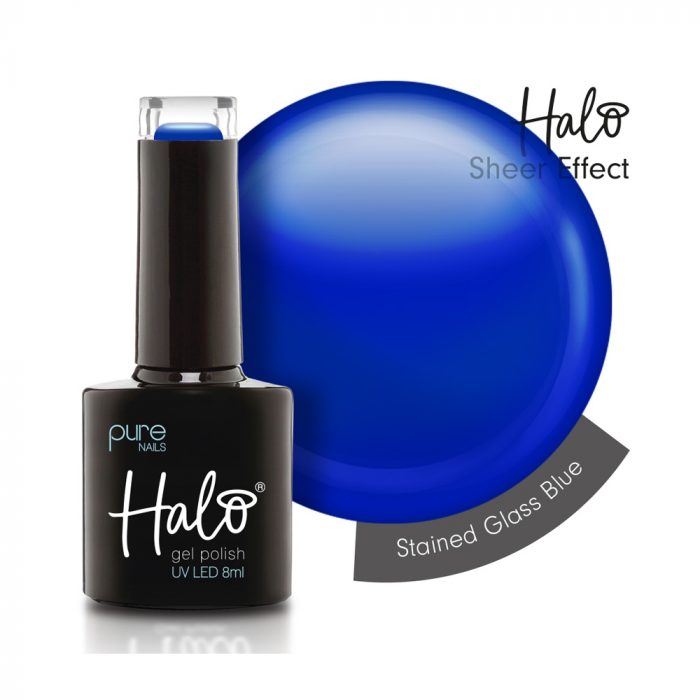
Halo Stained Glass Blue
As close to sapphires as nails can get, this stunning sheer blue nail polish exudes the opulence of precious jewels.
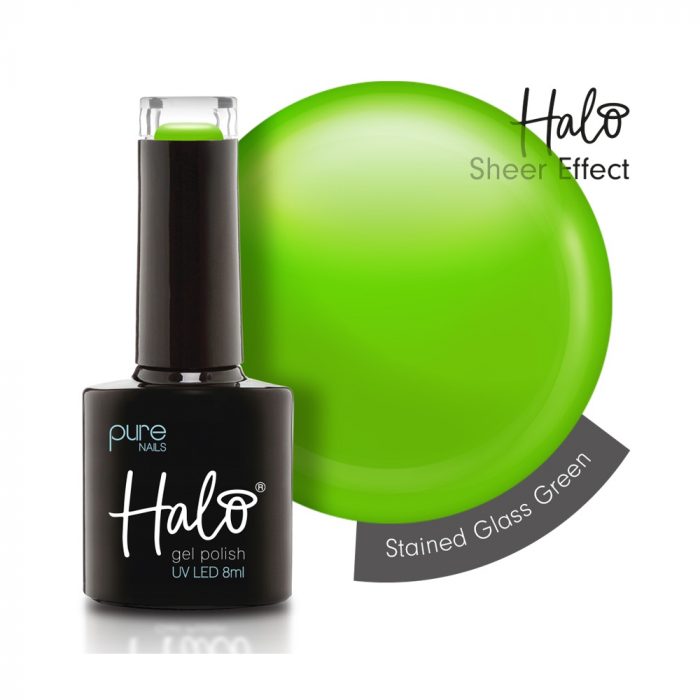
Halo Stained Glass Green
If you like your jewels green, then this one is for you. Reminiscent of peridot gemstones, this Halo nail polish is perfect for adding luminous effects to any nail look.
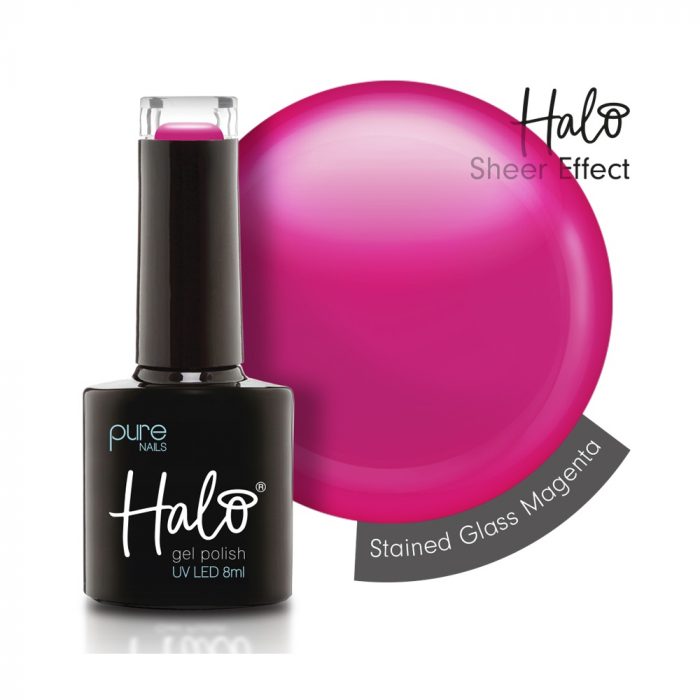
Halo Stained Glass Magenta
Sweet and sheer, this Halo nail gel is giving jelly sweet vibes. Full coverage, French tips, 3D nail art – whatever your style, Stained Glass Magenta will make the look pop!
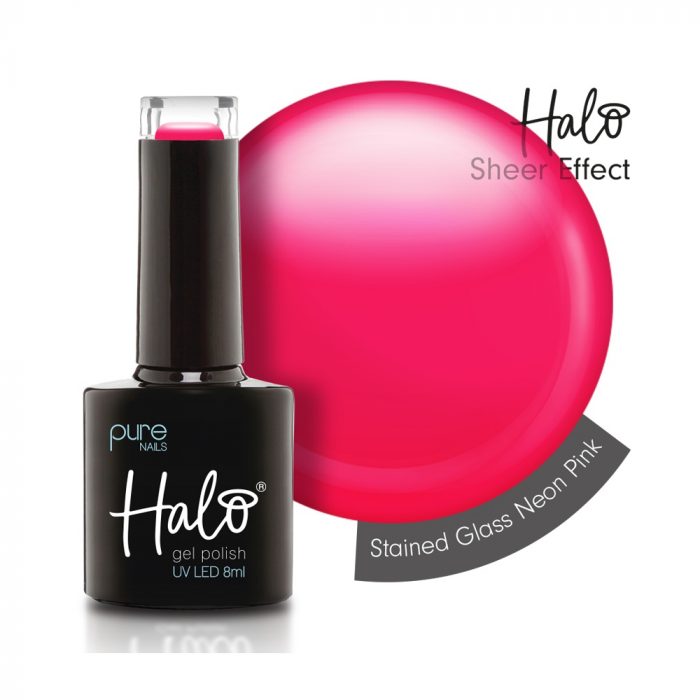
Halo Stained Glass Neon Pink
A breath-taking twist on neon nails, this Halo gel offers all the vibrancy of a neon pink with a softer, sheer finish.
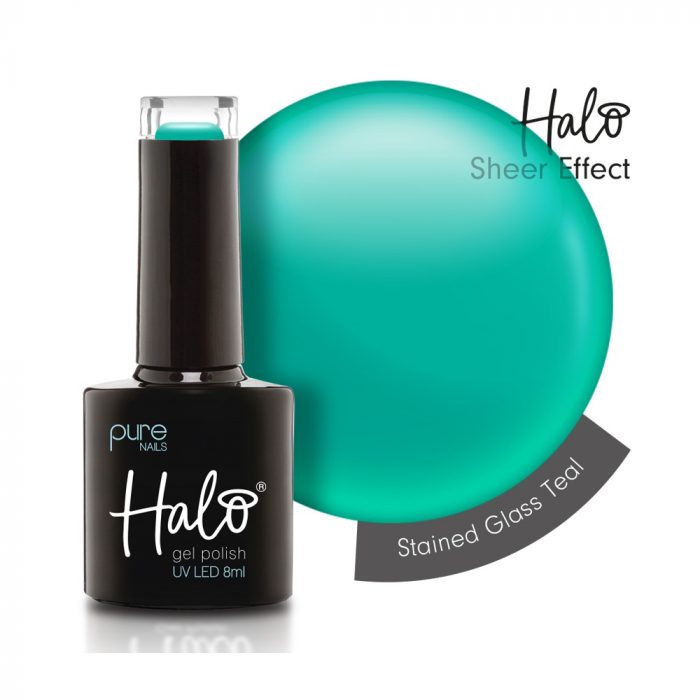
Halo Stained Glass Teal
Fresh and vivid, this spearmint green screams tropical paradise! With this Halo gel nail polish on, your clients will be itching to show it off on a beach with the summer sun gleaming through.
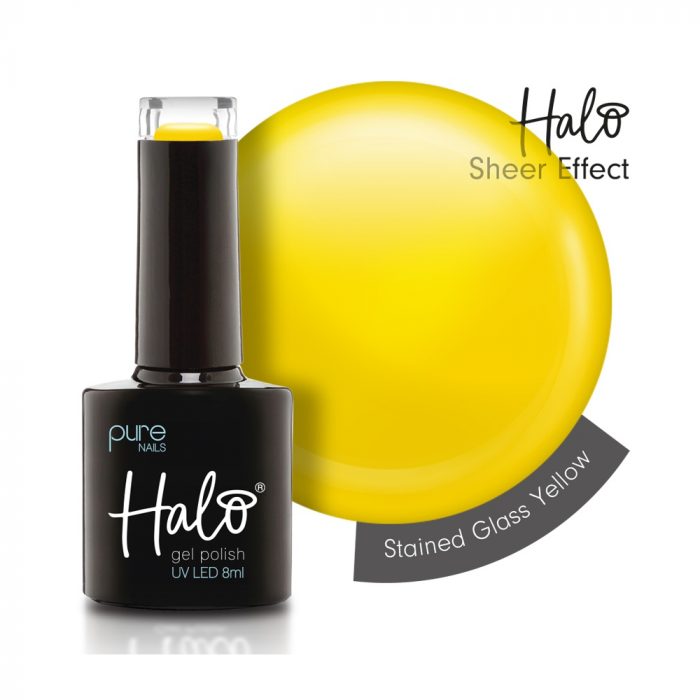
Halo Stained Glass Yellow
Oh so lemony! This sheer yellow Halo gel is the epitome of summer vibes. It’s also perfect for faff-free tortoiseshell nail art designs. Your new fave gel nail polish incoming…
Why we love Halo Jellie Tips
In cased you missed the hype, Halo Jellie Nail Tips are the latest addition to the Pure Nails nail tip collection. Available in a huge range of styles and lengths, these full cover nail tips apply and remove like a dream. They come pre-etched and pre-shaped to fit your client’s nails perfectly and can be soaked off with acetone just like a gel polish enhancement.
But our favourite thing about Halo soft gel tips has to be the nail glues! You can choose from a brush-on nail glue or opt for the innovative mouldable Halo Jellie Glue. The thick, putty-like consistency means you can scoop out the perfect amount, mould in your fingers, and press onto the nail. The tip won’t budge from there, so you don’t need to hold it in place while you flash cure. It really is an absolute game-changer!
How to use Halo Gel Polish Stained Glass
Itching to get your hands on the latest Halo gel polish collection? Then, follow this step-by-step guide to applying Halo Stained Glass gel over Jellie Tips for the most beautiful summer nails.
Application of Jellie Tips
- Prep your client’s natural nails, pushing back the cuticles, trimming excess and removing debris with a lush brush. Cleanse with Halo Prep & Scrub.
- Size your chosen Jellie Tips against your client’s nail beds, ensuring they fit perfectly between the side walls.
- Apply Halo Flexi-Bond or Rubber Base Coat to the natural nail and cure for 30 seconds under your LED nail lamp.
- If you’re using the thicker Halo Jellie Glue, scoop a small amount out and press into the contact area of your nail tip. If using the Brush-On Jellie Glue, then simply paint the contact area.
- Apply the tip to the nail plate at an angle, starting at the cuticle area and slowly pressing all the way down to avoid air bubbles.
- Hold the Jellie Tip down and flash cure for 30 seconds under the Halo Flash Cure Lamp or Smart Dual Lamp. Once all the tips have been flash cured, cure the whole hand for a further 30 seconds.
- If you need to refine the shape or length, then file the tips into your client’s preferred look.
- Buff carefully around the cuticle area to ensure the tips sit flush and buff the rest of the nail to remove the shine.
- Remove any dust and apply Halo Prep & Scrub before applying your gel polish.
Application of Halo Gel Polish
- Now your nail tips are applied, you’re ready to make them shine! Apply a thin layer of Halo Base Coat and cure for 30 seconds.
- Choose your favourite Halo Stained Glass nail colour and brush on in thin layers. Because the gel is very sheer, you may want to go over the nails twice before curing for 30 seconds.
- Repeat the above step for further depth of colour.
- Stained Glass makes a great base for nail art designs, using either different shades of Stained Glass, or colours from the main Halo nail collection. Contrast with bold shades or dazzle with glitters – the world is your oyster! To really make nails pop, apply a coat of your Stained Glass colour over your nail art design for extra depth.
- Once you’re happy with your finished look, brush on the Halo Top Coat and cure for a final 30 seconds.
- Leave the nails to cool for approximately 2 minutes before finishing off with a drop of Halo Citrus Crush Cuticle Oil on each nail.
Removal
- Removal is so quick and easy! Simply file down to the base coat layer to break the seal.
- Cut away any additional length from the nail tip.
- Using your preferred soak-off method, remove the same way you would a gel polish. Method 1: soak a lint-free nail wipe in acetone, wrap around the nail with foil and leave for up to 10 minutes. Method 2: pour acetone into a manicure bowl, submerge the nails and cover with a towel.
- Once the bulk has soaked off, gently remove any excess product using a manicure stick.
- Clean the nail and apply cuticle oil to finish.
Comments are closed here.