
Introducing Glitterbels Builder-Bel: the hema-free builder gel you need!
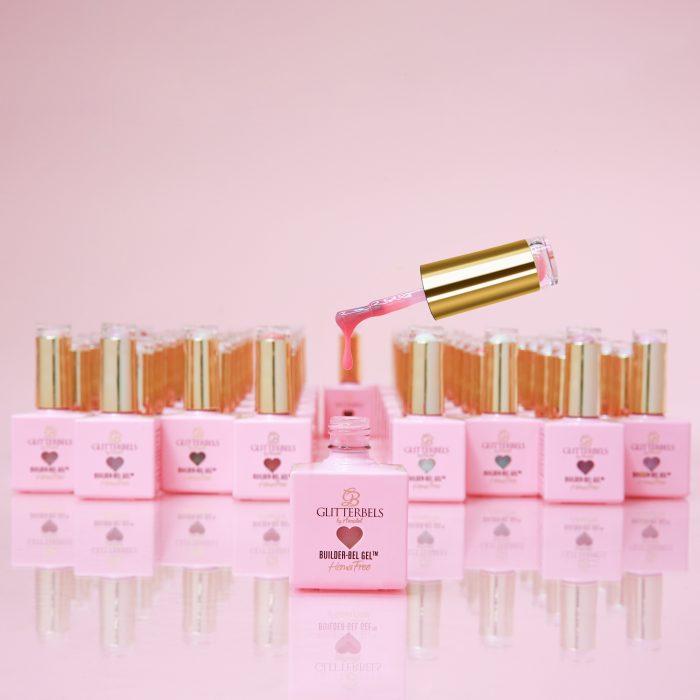
We’re so excited to announce the launch of Glitterbels‘ latest product innovation: Hema-Free Builder-Bel Gel! Created in response to the growing demand for representative builder gel shades in formulas that everyone can love, this new Glitterbels Builder Gel collection is not to be missed.
The story so far
Just like all Glitterbels nail products, new Builder-Bel gels have been expertly formulated with professionals in mind. Over 2 years in the making, the team at Glitterbels worked extensively to make sure the new brush-on builder gel range gives the very best results for clients and nail techs alike. Throughout the process, Builder-Bel was tested on people from a variety of careers – including nurses, teachers, chefs, cleaners, warehouse workers and many more – to ensure unbeatable quality and amazing durability.
Why we love Glitterbels Builder-Bel
The result does not disappoint! Available in a range of stunning shades to suit all skin tones, this new builder gel range has got it all:
- Hema-free builder gel formula
- 100% vegan and cruelty-free
- Brush-on builder gel for fast and easy application
- Self-levelling formula
- Helps with nail strength and flexibility
- Can be applied over natural nails or to existing nail enhancements, hard gels, soak-off gels, or acrylics.
- Great for short extensions with forms or plastic nail tips
- Creates a beautiful curve to a flat nail
- Compatible with soak-off and hard gels
- Easy to remove by filing and soaking off
- Variety of shades and finishes including opaque, semi-sheer, and clear
- Crystal is completely clear and does not yellow
How to use Glitterbels Builder-Bel Gel
Follow this step-by-step guide to reveal gorgeous, natural-looking nails with amazing strength and shine.
- Clean and shape your clients’ natural nails, gently pushing back the cuticle and removing any non-living tissue.
- Once prepped to perfection, brush away any excess dust and cleanse with a lint-free nail wipe.
- Apply the Glitterbels Hema-Free Dehydrator and follow with the Acid-Free Nail Primer for maximum adhesion, making sure to cap the free edge.
- Brush on a thin layer of Glitterbels Hema-Free Base Coat and cure for 60 seconds.
- Apply a thin layer of your chosen Builder-Bel Gel using the puddle and raindrop method and cure for 60 seconds. Annabel’s top tips: if you prefer, use a Glitterbels Unbelievabel Gel Brush for flawless application, and use a fine liner nail brush to perfect the cuticle area.
- Apply a second, thicker coat to build structure and give the nail strength. Place a drop of Builder-Bel Gel at the cuticle – making sure not to flood the area – and use the tip of the brush to work the product to the tip of the nail. Sway the brush from side to side for a smooth, seamless finish. Cure for 60 seconds.
- Cleanse away the tacky layer before filing and refining the nail.
- Using a 180 grit nail file, refine the sidewalls and free edge. Glitterbels also suggest using a nail buffer to even out any thickness on the top of the nail to perfect the look.
- This is where you can go in with some colour! Use your favourite Glitterbels Hema-Free Gel Polish shades for a burst of colour or for stunning nail art effects. If you’re happy with the Builder-Bel colour as is, you can simply finish with a coat of Glitterbels Hema-Free Top Coat and cure for 60 seconds.
- After a couple of minutes, finish your look with a couple of drops of cuticle oil to nourish the skin.
Don’t forget to give your clients the best nail aftercare advice to keep their gel manicure looking fab for longer. Recommend that they regularly apply cuticle oil (approx. twice per day) and ensure they wipe nails clean after contact with dulling products like sun creams, oils, and alcohol-based sanitisers. Keeping up with maintenance appointments is also key, so make sure they book in for infill appointments to avoid lifting, breakages and chipping.
How to infill Glitterbels Builder-Bel Gel
Thanks to this fabulous builder gel for nails, clients will start to see their natural nails strengthen and grow within a couple of weeks. As the nails grow, ensure you avoid chips, breaks and lifting by following this infill guide.
- File over the nail where the builder gel remains, ensuring you leave the regrowth area free from filing. If the nail has begun to lift, remove the product at the base so you can have a successful infill and regrowth plan.
- Once you’ve filed and removed any lift, begin prepping the nail by buffing the regrowth area with a 180 grit file and removing the dust.
- Apply Glitterbels Hema-Free Dehydrator and Acid-Free Primer to the natural nail only.
- Apply a thin layer of Glitterbels Hema-Free Base Coat and cure for 60 seconds.
- Brush on a thin layer of your chosen Builder-Bel shade, making sure you cover the entire nail as well as the free edge and side walls. Cure for 60 seconds.
- Apply you second coat using the puddle and raindrop technique. Start at the cuticle and gently sway the brush from side to side as you work towards the nail tip. Once you’re happy with the application, cure for 60 seconds. If you need further structure and strength, you could add a third coat.
- Once fully cured, use a 180 grit nail file to refine the nail’s shape and remove any bumps.
- Apply a thin layer of Glitterbels Hema-Free Top Coat, making sure to cap the free edge. Cure for 60 seconds.

How to remove Glitterbels Builder-Bel Gel
Infill appointments are great about 2 weeks after first application, but your client’s builder gel manicure should be fully removed after 4 weeks. This allows you to check the natural nail health and ensure a deep cleanse before reapplication. Check out these easy guide to safe removal of Glitterbels hema-free builder gel.
- File over the nail using a 180 grit file, avoiding the natural nail’s regrowth area. Make sure all of the product is etched and file away most of the bulk for faster removal.
- Soak the nails in acetone and wrap in foil. For best results, ensure the foil is secured tightly around the finger and that the cotton pad has been well saturated in acetone.
- Leave to soak for 15 minutes.
- Remove the foil and cotton pad using a shearing motion – this will help most of the product to lift away with the cotton pad. Repeat the process again if a lot of product remains on the nail.
- Gently remove any excess product from the nail plate using a wooden scraper, being sure not to scratch the natural nail.
- Once all the product has been removed, use a buffer to add shine to the natural nail. Nourish the nails and skin with a few drops of cuticle oil.

Nail Courses
If you’re new to builder nails or want to refresh your builder gel technique, take a look at our Gel Polish Nail Course. Or if you’re looking to try something completely new, browse our full range of Adel Academy hair and beauty training courses to expand your skillset and treatment offering.
Comments are closed here.